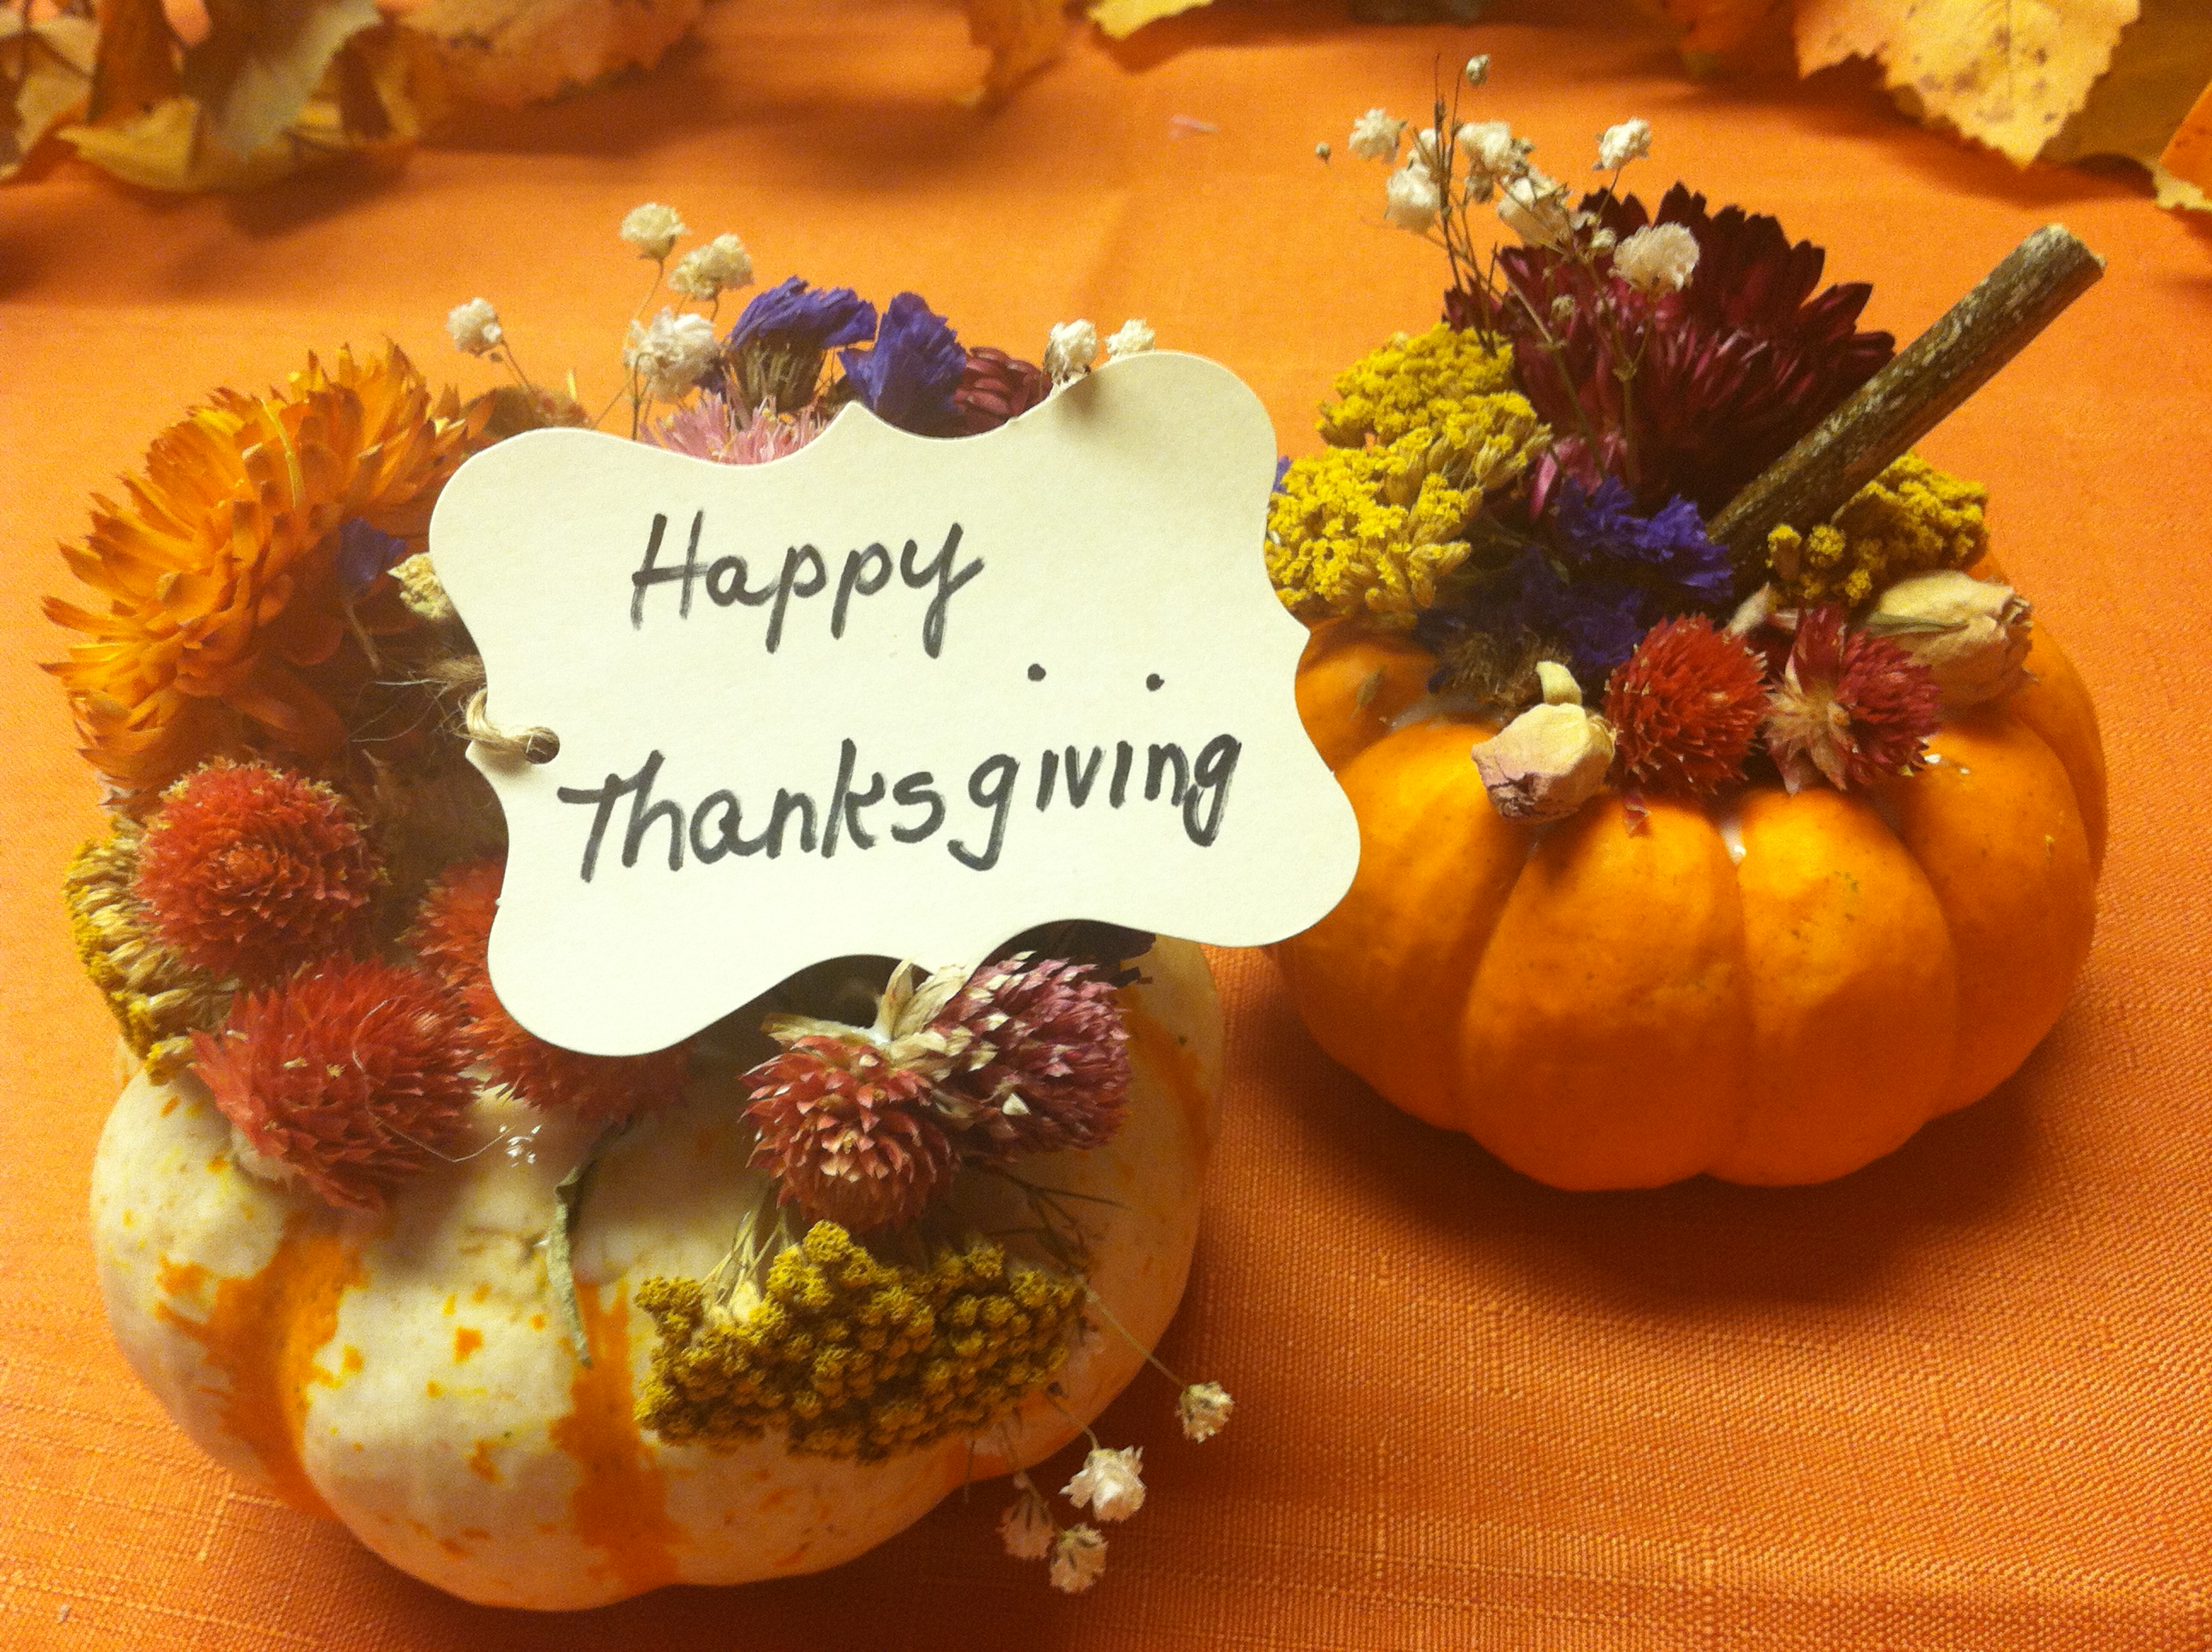
Miniature orbs decorated with dried flowers…how fantastically “fall!” If you’re looking for some no-carve, no-Halloween, pro-Thanksgiving pumpkin decorating options, look no further than these season extending mini blooming pumpkins.
 Supplies
Mini pumpkins
Glue (Elmer’s glue works fine, but heavy duty craft glue works better)
Dried flowers
Scissors
Sharpie pen
Decorative tags, optional
Twine or wire, optional
Step-by-Step Instructions
Select the pumpkin and the flowers to be used in decorating it.
Prep the flowers by removing stems and unsightly petals or leaves.
With the pumpkin sitting upright in front of you (stem pointing up), apply a generous amount of glue around the base of the stem. Don’t be stingy here – make sure to apply the glue all over the top of the pumpkin, right up to and away from the stem.
Quick note – whenever I work with glue, it’s important to constantly remind myself and clients that THE GLUE WILL DRY CLEAR. So don’t sweat it if you accidentally apply too much and it starts to run down the sides of the pumpkin, or get it on the “good” part of the flowers. THE GLUE WILL DRY CLEAR!
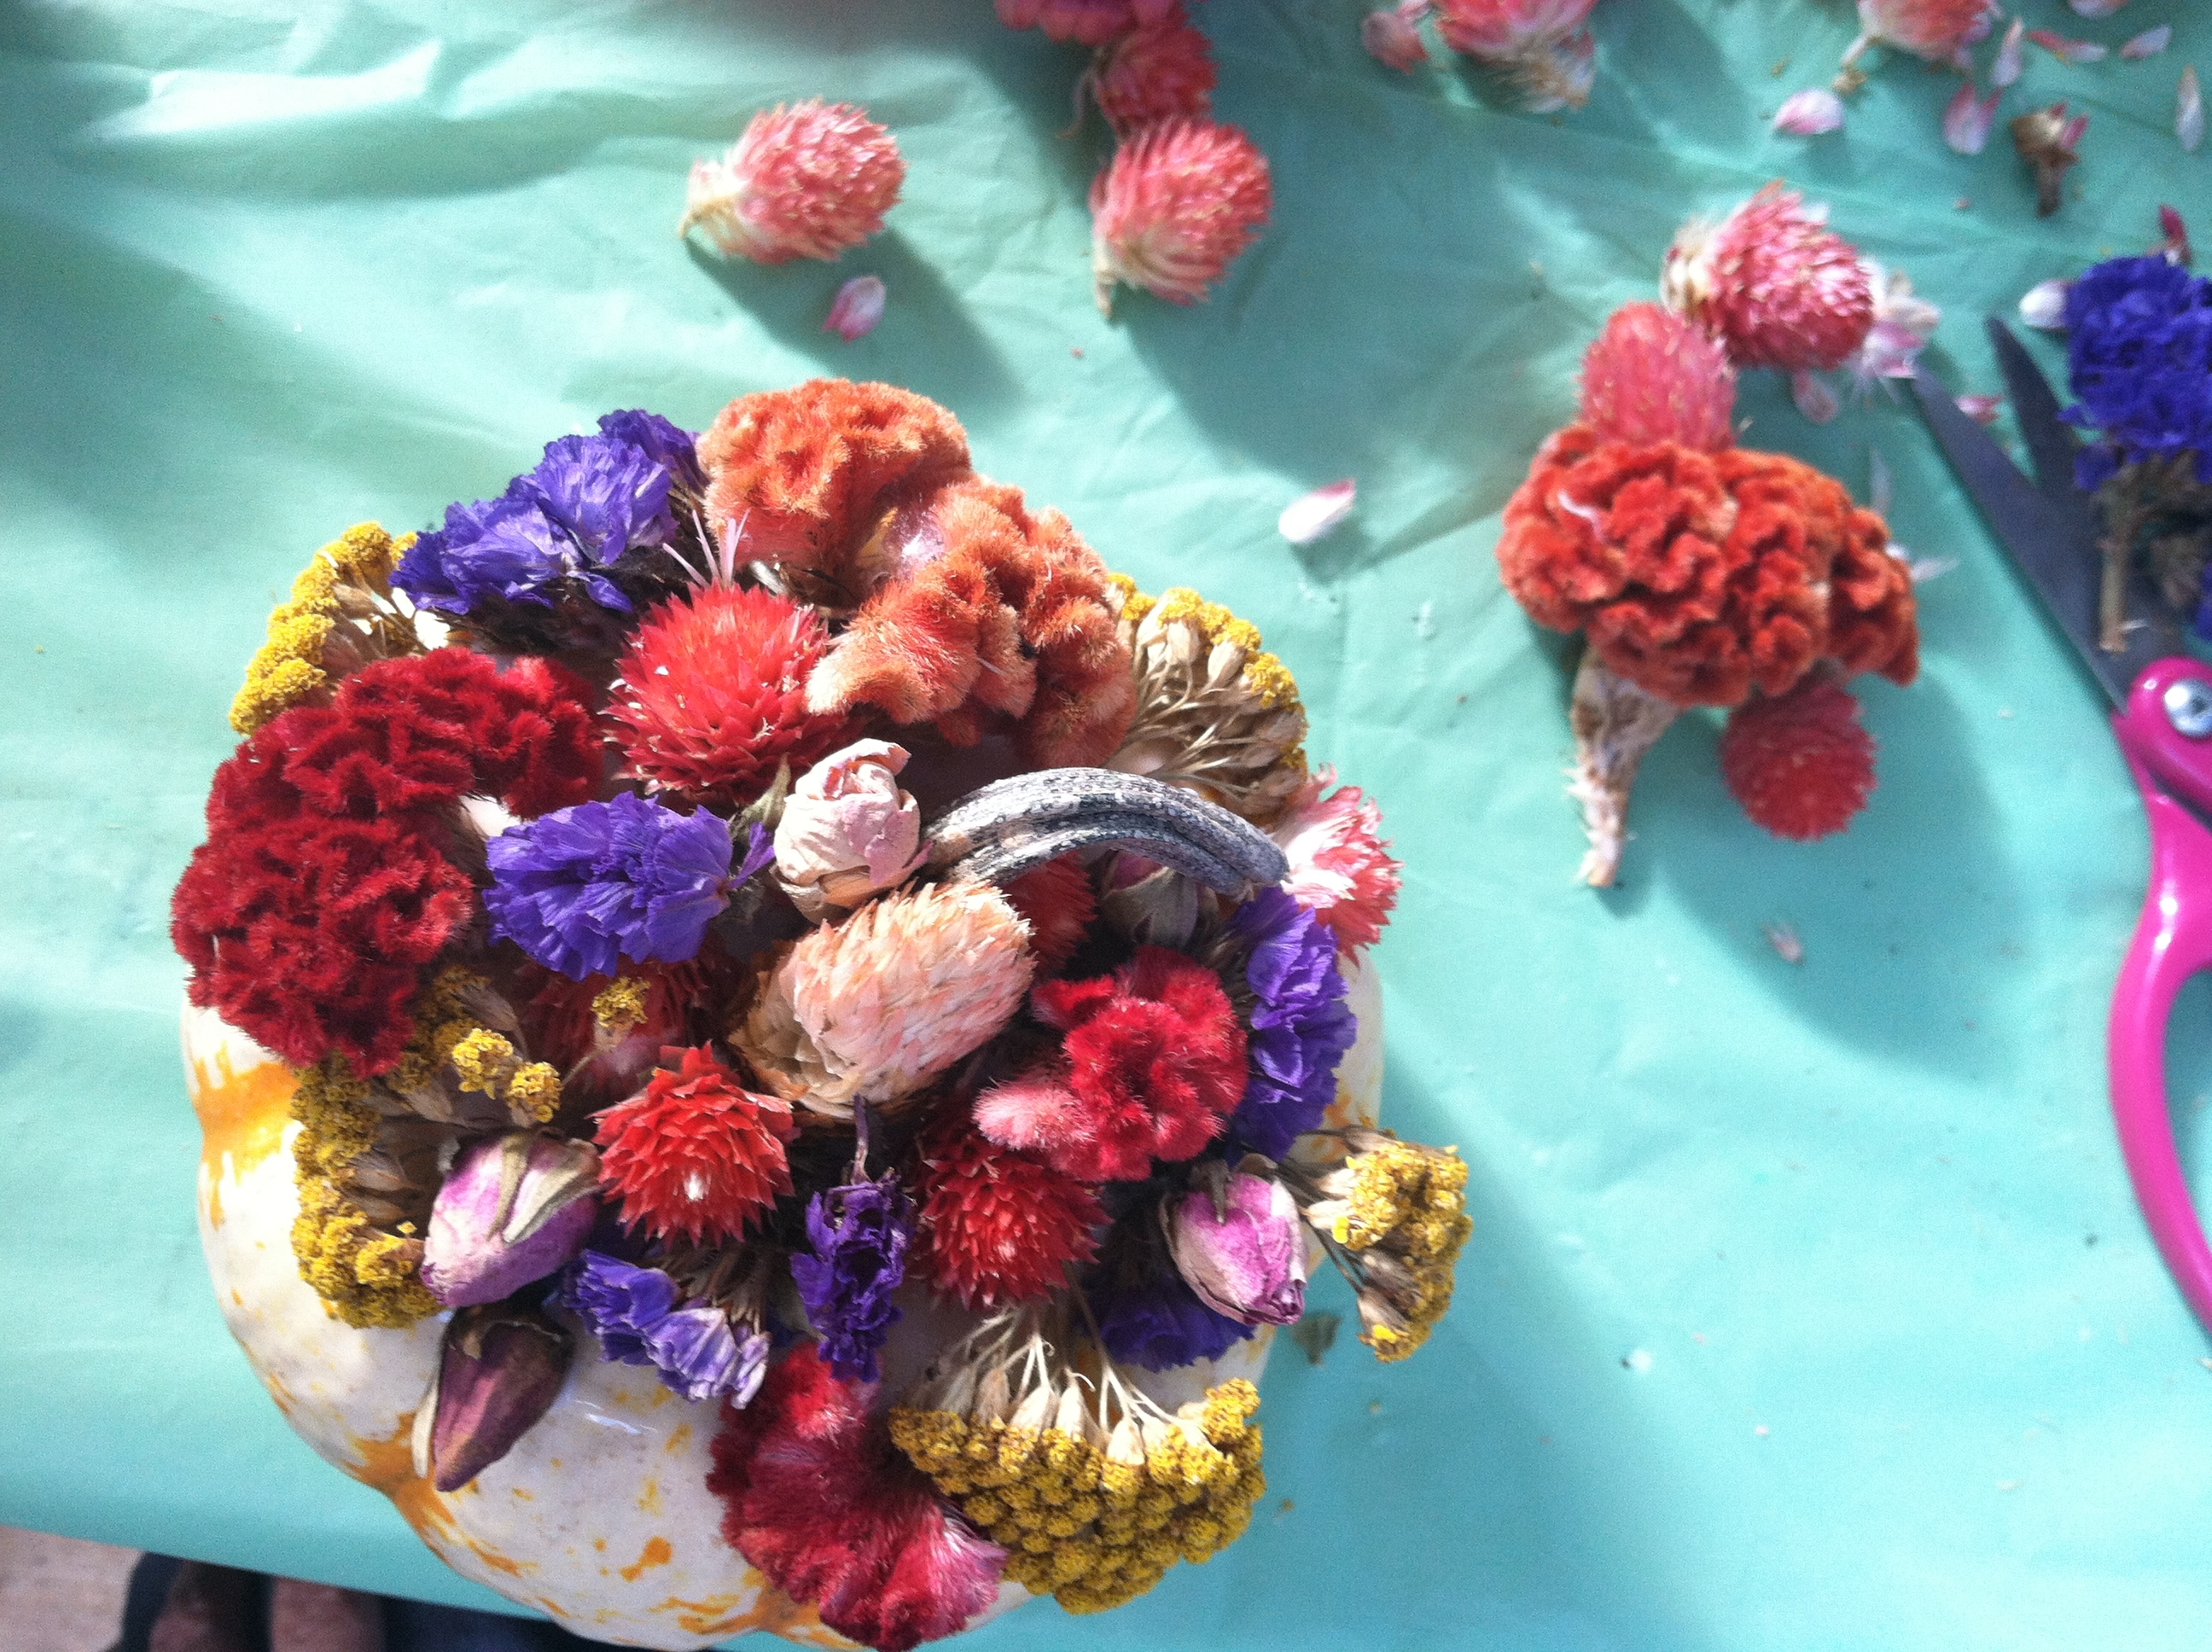
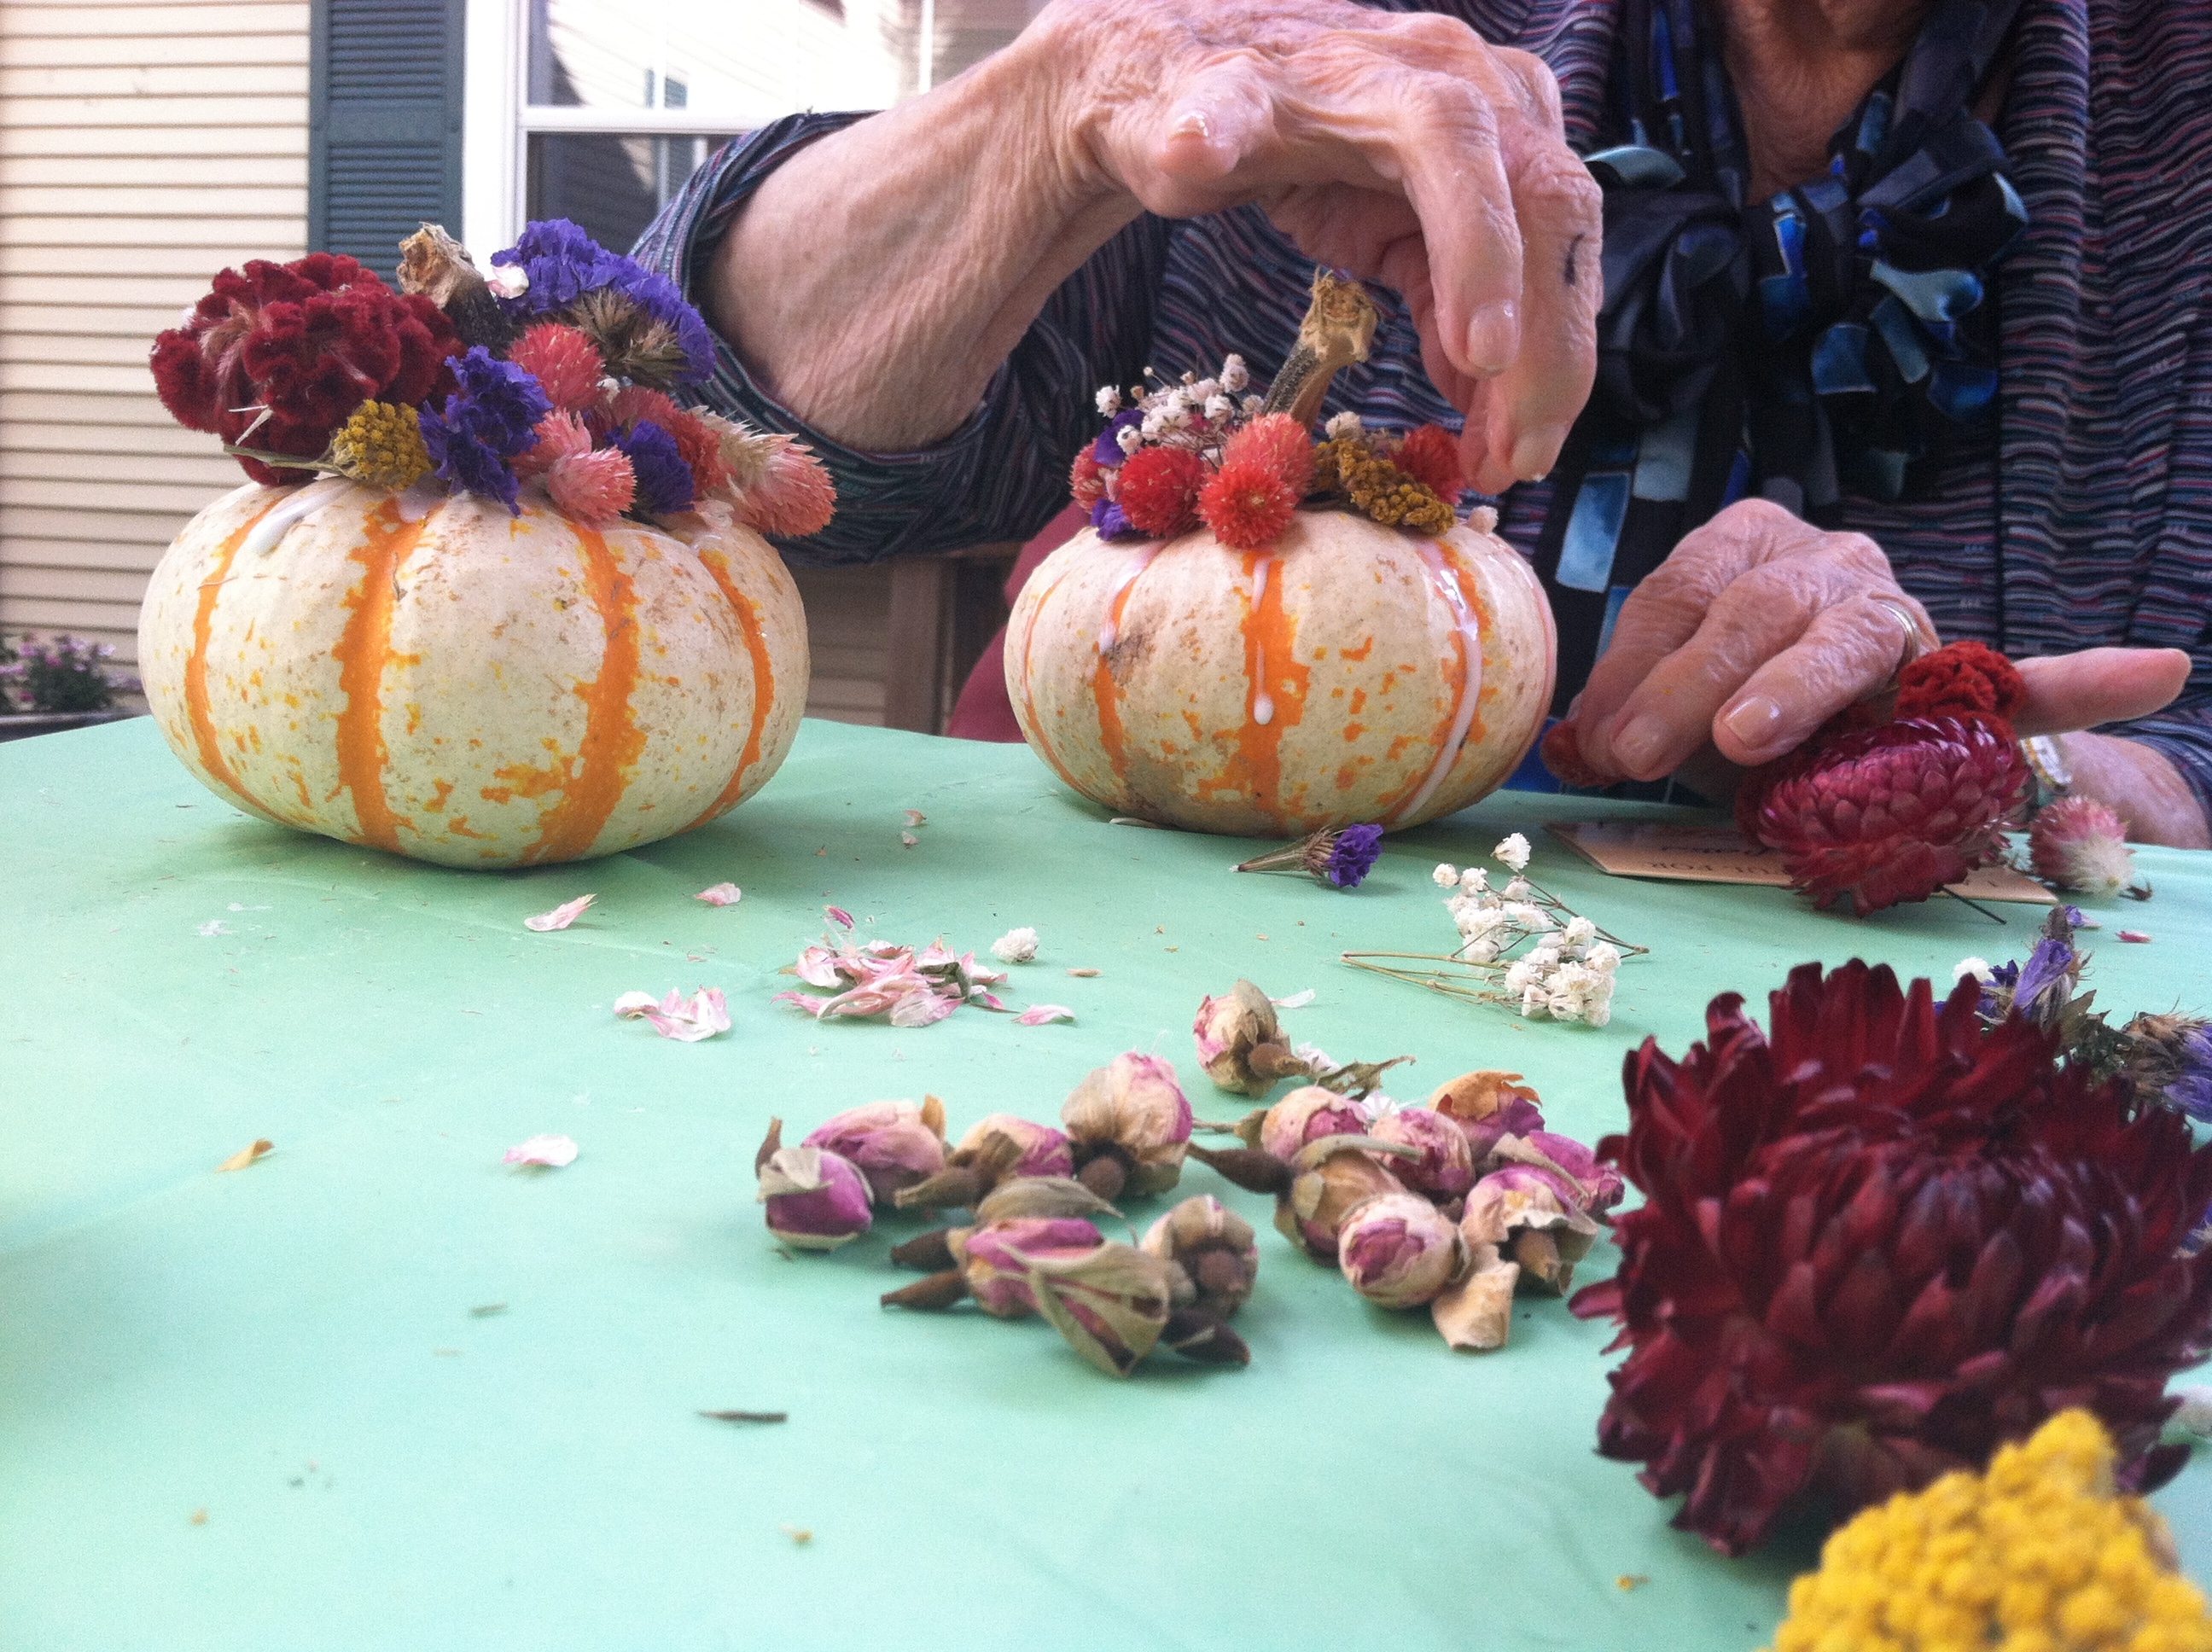 With the glue in place, begin placing flowers on the top of the pumpkin. There’s no rhyme or reason on how to apply flowers – just make it look pretty to your tastes.
Apply additional glue as necessary to ensure all flowers have glue on them. (This is where I like to use Elmer’s glue since the tip of the bottle easily inserts between flowers to provide targeted glue application. If using craft glue, use a cotton swab to apply targeted globs of glue as needed.)
 Keep applying flowers, rotating the pumpkin 360 degrees during application to ensure even coverage of flowers on all sides.
Continue until complete.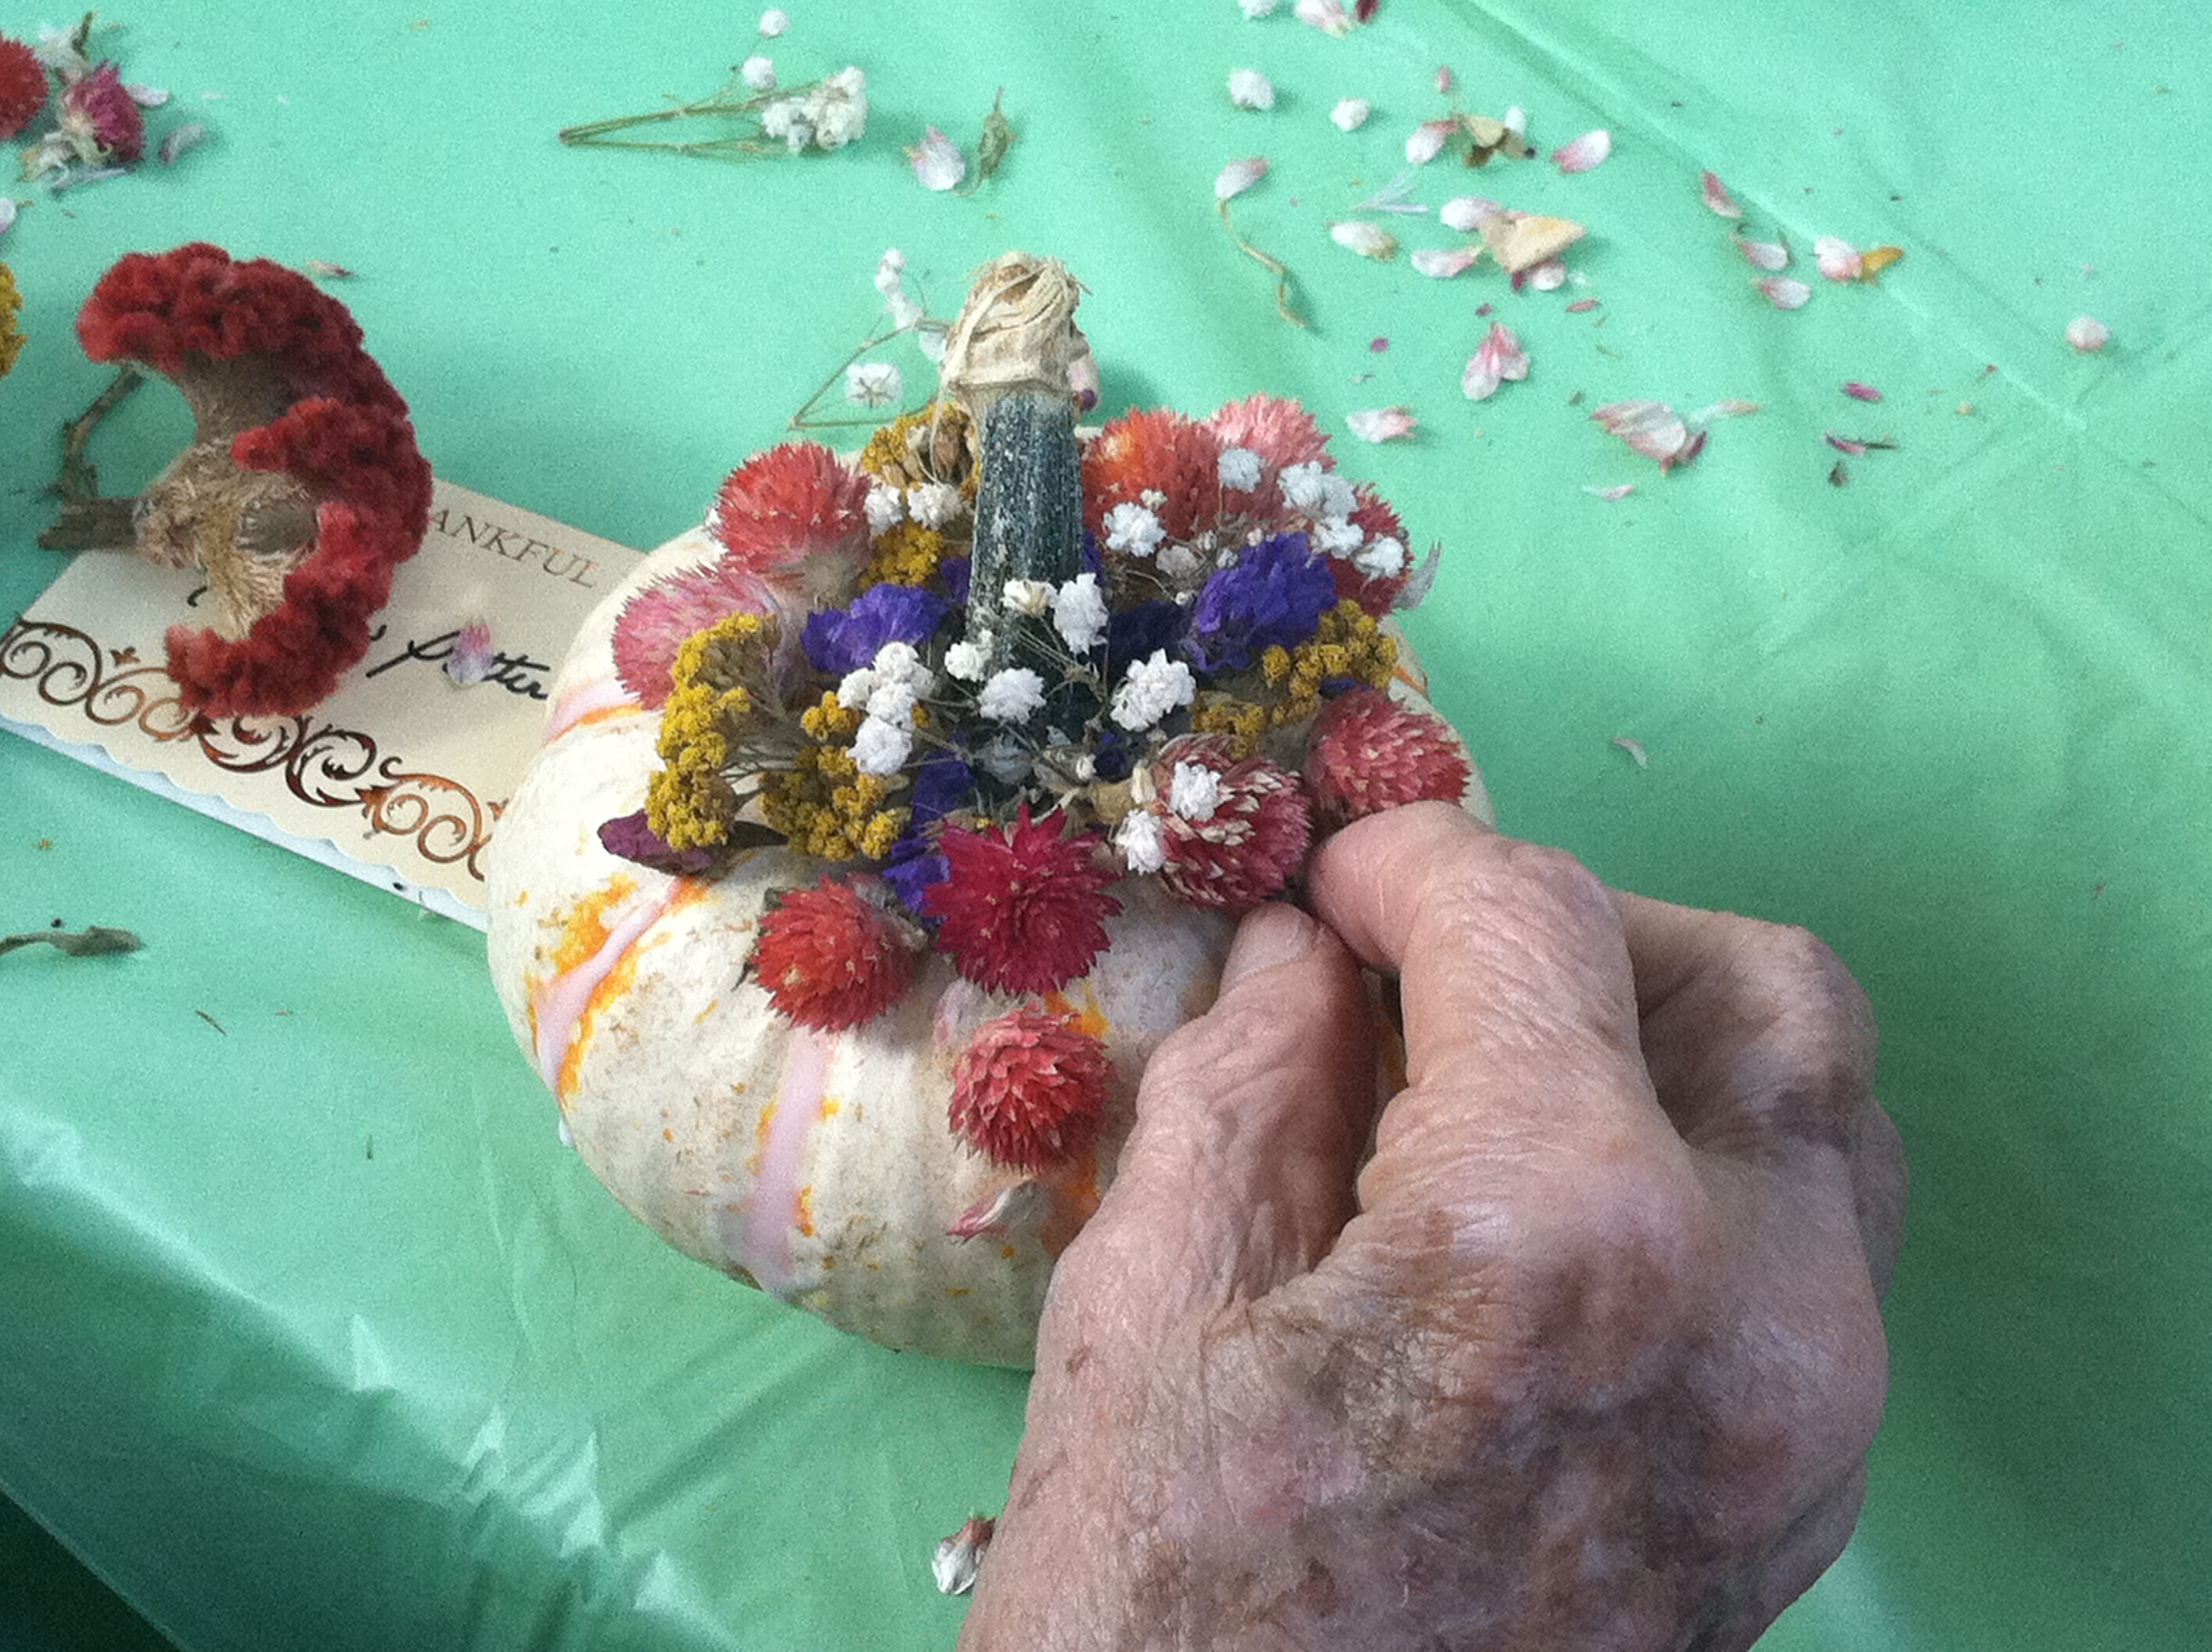
If attaching a decorative tag, write a quick note or greeting, inspirational quote, your name, or whatever on the tag.
Thread the wire through the hole in the tag.
Attach the wire to the pumpkin’s stem and secure in place. Voila!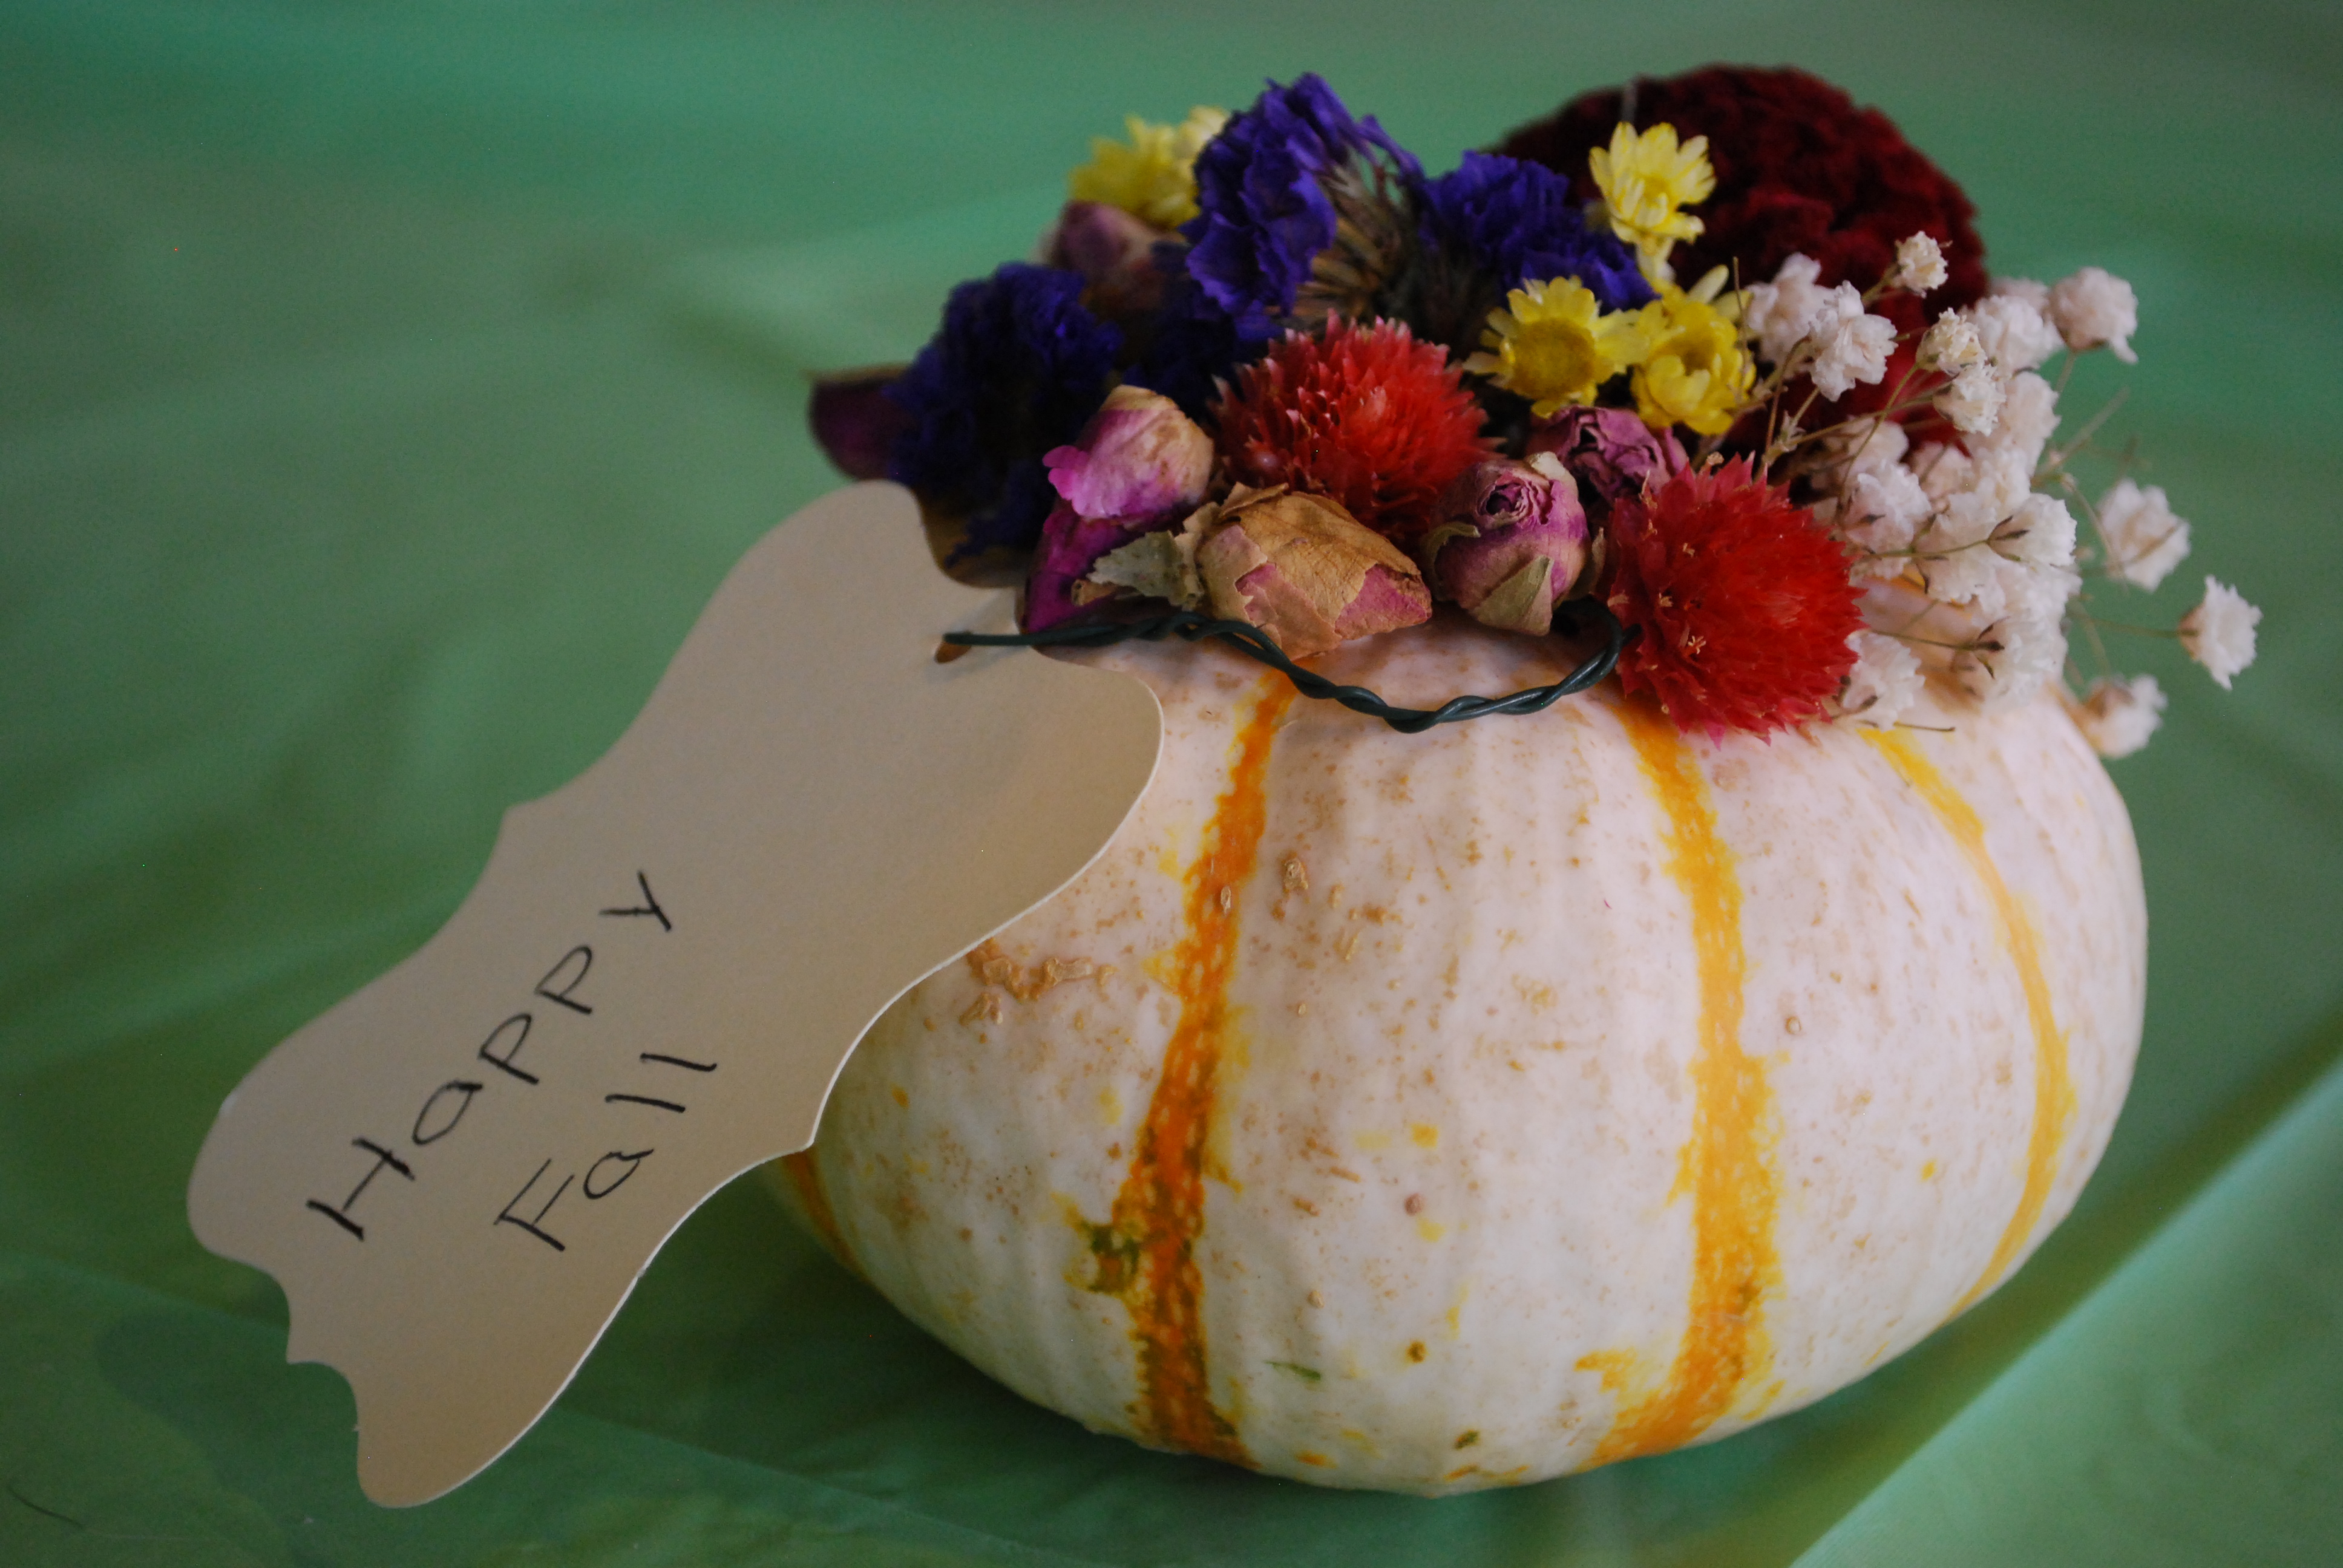
Notes for Horticultural Therapy Practitioners…
Aside from the changing colors of fall leaves, pumpkins provide a great seasonal cue to place clients in the time of year. To me, pumpkins represent autumn…and not just Halloween. I like blooming pumpkins as a season extending activity that’s appropriate to display all the way up to Thanksgiving. And, since I’m not able to easily use sharp knives or do pumpkin carving for safety and logistical reasons with most of my groups, this activity is an ideal option.
This is also an activity that can require more than one session for preparation, if you’re lucky enough to have an outdoor garden to utilize with a therapeutic horticulture program. One session can include the planting of annual flowers and perennials that are suitable for drying. Subsequent sessions include the maintenance and gradual harvesting of these flowers in the garden.
And did you know that pumpkins float in water?!? Oh, don’t get me started on that…
 Contraindications
If you need to cut the dried flowers into smaller pieces, and you’re working with a group where sharp objects like scissors or pruners are potentially unsafe, here are a few tips to follow:
– Use child-safe scissors, not sharp scissors or pruners.
– Use flowers that are easy to pinch with the fingers. Be mindful of the level of the “ease of pinching,” in comparison to tolerance levels, for those who have fine motor issues.
– Pre-cut the stems off flowers and have them ready for use ahead of time.
Other potential issues:
When glue and flowers may be eaten by some individuals with cognitive challenges, use non-toxic options. Avoid putting flowers in bowls or other food-related objects.
Program Notes
Whenever I do this activity, I like to incorporate opportunities for clients to reminisce about their favorite holiday memories. So prior to doing the activity creations, we answer open ended questions about Thanksgivings past. For large groups, we break up into small groups and pass out pieces of paper with prompt questions. The groups identify a group leader and discuss their answers to the questions. After a few minutes, we gather back together and discuss the responses as a group.
Examples of prompt questions
– What is your favorite part of Thanksgiving?
– What are you are thankful for?
– What is your favorite food to eat on Thanksgiving?
Prompt questions inspired by JournalBuddies.com
Budget Buster Tips
– Grow your own flowers for drying. Harvest them throughout the season. Prep them and hang to dry until ready for use.
– Recycle flowers from old floral arrangements before discarding them. Baby’s breath, statice, and yarrow are examples. Whenever I do floral arranging programs throughout the year, I always use flowers that can be dried, and then harvest them from the old arrangements or leftovers after a program.
– Can’t afford pumpkins for each person? Get a handful of pie or Jack pumpkins, and have your group work in small teams to strategize and decorate a “community” pumpkin.